


Online Riding Gear Store


Raid Offroad Collection


Wash & Care
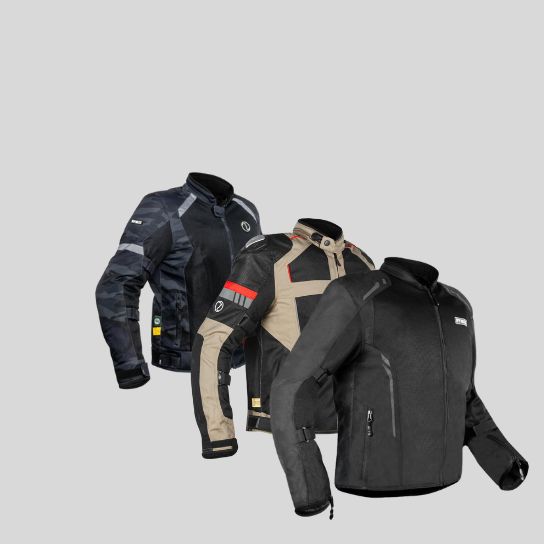
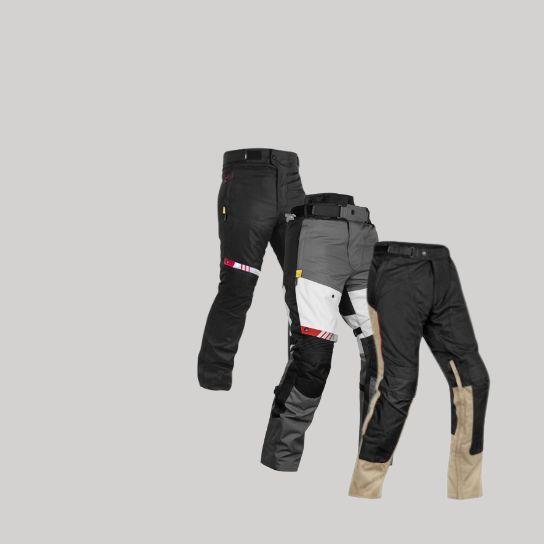
JACKETS & PANTS
Step 1 – Prep
- Remove all impact protectors
- Undo all zippers, Velcro and buckles
- Shake off any surface dirt
- Use a soft brush if required
Step 2 – Which Detergent?
- Use (in order of preference)
- Purpose-made tech-wash
- Neutral unscented liquid detergent
- Woolen liquid detergent
- Baby shampoo
- Completely Avoid
- Any type of granular powder detergent
- Any type of heavily scented liquid detergent
Step 3 – Soak
- Dissolve 1 cap of detergent per garment, in a bucket of lukewarm water
- Soak for at least 30 minutes
- Avoid hot water. Test with your fingers first. If it’s too hot for your fingers, it’s too hot for your gear.
Step 4 – Wash and Rinse
- Agitate and scrub with your hands
- Focus on spots with grease and grime
- Repeat until clean
- Rinse multiple times until free of detergent
- Avoid using hard, abrasive brushes. Use a soft brush if required
Step 5 – Let Dry and Store
- Put on a hanger and let dry in a cool ventilated shaded area
- Once dry, store in a cool, ventilated moisture-free place, away from house-dust
- Do not wring. Do not tumble dry. Do not iron. Do not bleach. Do not expose to direct sunlight while drying.
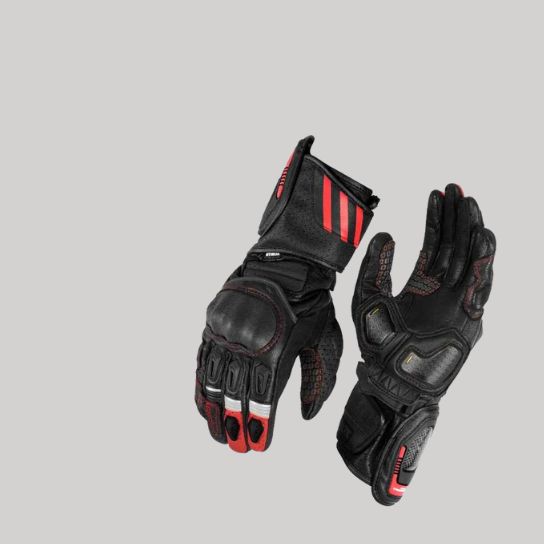
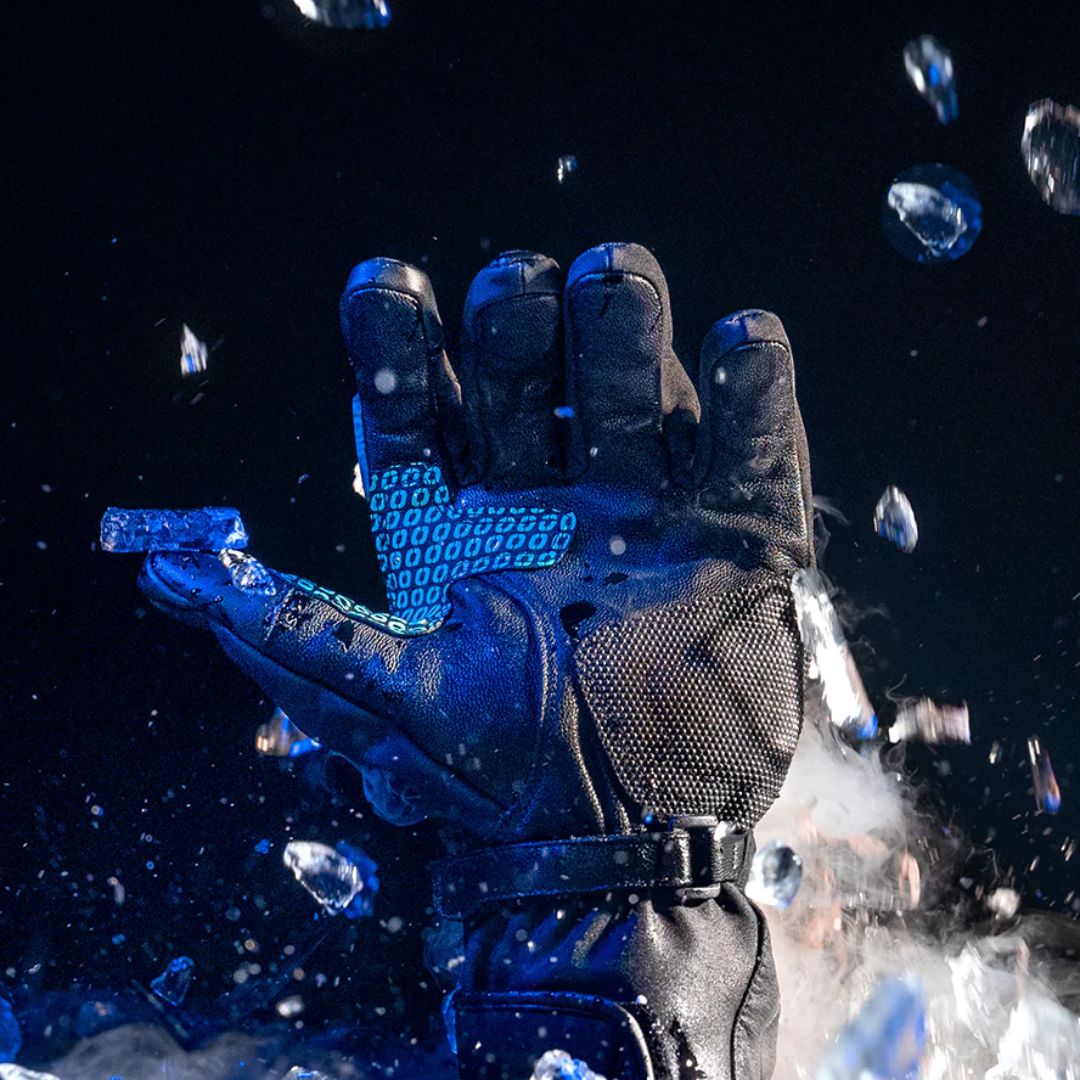
GLOVES
Step 1 – Prep
- Undo all buttons, Velcro, and buckles
- Shake off any surface dirt
- Wipe clean with a damp microfiber cloth
- Dissolve 1 cap of detergent in a bucket of water, per pair of gloves
- Soak for at least 30 minutes
- Avoid hot water. Test with your fingers first. If it’s too hot for your fingers, it’s too hot for your gear.
Step 2 – Which Detergent?
- Use (in order of preference)
- Purpose-made tech-wash
- Neutral unscented liquid detergent
- Woolen liquid detergent
- Baby shampoo
- Completely Avoid
- Any type of granular powder detergent
- Any type of heavily scented liquid detergent
Step 3 – Wash and Rinse
- Wear the gloves and dip your hands in the bucket
- As if you’re washing your hands, scrub the gloves together
- Focus on spots with grease and grime
- Repeat until clean
- Rinse multiple times until free of detergent
- Avoid using hard, abrasive brushes. Use a soft brush if required
Step 4 – Flat Dry
- Lay the gloves flat over a towel, in a well-ventilated area.
- For leather gloves, during the drying process, put the gloves on at regular intervals, and flex your fingers and wrists.
- This is important for leather gloves to retain the shape and fit of your hands.
- Do not hang dry. Do not expose to direct sunlight while drying.
Step 5 – Condition
- Once completely dry, gently rub leather conditioner over leather panels
- Lay flat over a towel to allow the leather to absorb the conditioner
- Repeat as required. Wipe off any excess conditioner with a microfiber cloth.
- Skip this step for textile or mesh gloves/panels
Step 6 – Storage
- Store in a cool dry ventilated place, away from direct sunlight.
- Do not store while damp or wet. Dry completely before storage.
- Clean thoroughly before long-term storage.
KNEE GUARDS
Step 1 – Prep
-
Undo all straps and buttons
-
Shake off any surface dirt
-
Wipe clean with a damp microfiber cloth
-
Use a soft brush if required
Step 2 – Which Detergent?
-
Use (in order of preference)
-
Purpose-made tech-wash
-
Neutral unscented liquid detergent
-
Woolen liquid detergent
-
Baby shampoo
-
-
Completely Avoid
-
Any type of granular powder detergent
-
Any type of heavily scented liquid detergent
-
Step 3 – Soak
-
Dissolve 1 cap of detergent in a bucket of water, per pair of knee guards
-
Soak for at least 30 minutes
-
Avoid hot water. Test with your fingers first. If it’s too hot for your fingers, it’s too hot for your gear.
Step 4 – Wash and Rinse
-
Agitate and scrub with your hands
-
Focus on spots with grease and grime
-
Repeat until clean
-
Rinse multiple times until free of detergent
-
Avoid using hard, abrasive brushes. Use a soft brush if required
Step 5 – Let Dry and Store
-
Place the knee guards vertically or put them on a hanger in a cool ventilated shaded area
-
Once dry, store in a cool, ventilated moisture-free place, away from house dust
-
Do not wring. Do not tumble dry. Do not iron. Do not bleach. Do not expose knee guards to direct sunlight while drying.
SOCKS
Step 1 – Prep
- Shake off any surface dirt
- Flip inside out
Step 2 – Which Detergent?
- Use (in order of preference)
- Purpose-made tech-wash
- Neutral unscented liquid detergent
- Woolen liquid detergent
- Baby shampoo
- Completely Avoid
- Any type of granular powder detergent
- Any type of heavily scented liquid detergent
Step 3 – Soak
- Dissolve 1 cap of detergent, in a bucket of lukewarm water
- Soak for at least 30 minutes
- Avoid hot water. Test with your fingers first. If it’s too hot for your fingers, it’s too hot for your gear.
- While soaking, make sure to fill the inside of the socks with the detergent water, and then leave the socks to soak for 30 minutes
Step 4 – Wash and Rinse
- Keep the socks flipped inside out
- Agitate and scrub gently with your hands
- Repeat until clean
- Rinse multiple times until free of detergent
- Avoid using brushes
- Flip the socks the right side out and repeat the wash and rinse process
Step 5 – Let Dry and Store
- Flip the socks inside out. Hang dry in a cool ventilated shaded area.
- Once the inside is dry, flip the socks the right side out. Hang dry in a cool ventilated shaded area.
- Once completely dry, store in a cool, ventilated moisture-free place, away from house-dust
- Do not wring. Do not tumble dry. Do not iron. Do not bleach. Do not expose to direct sunlight while drying.
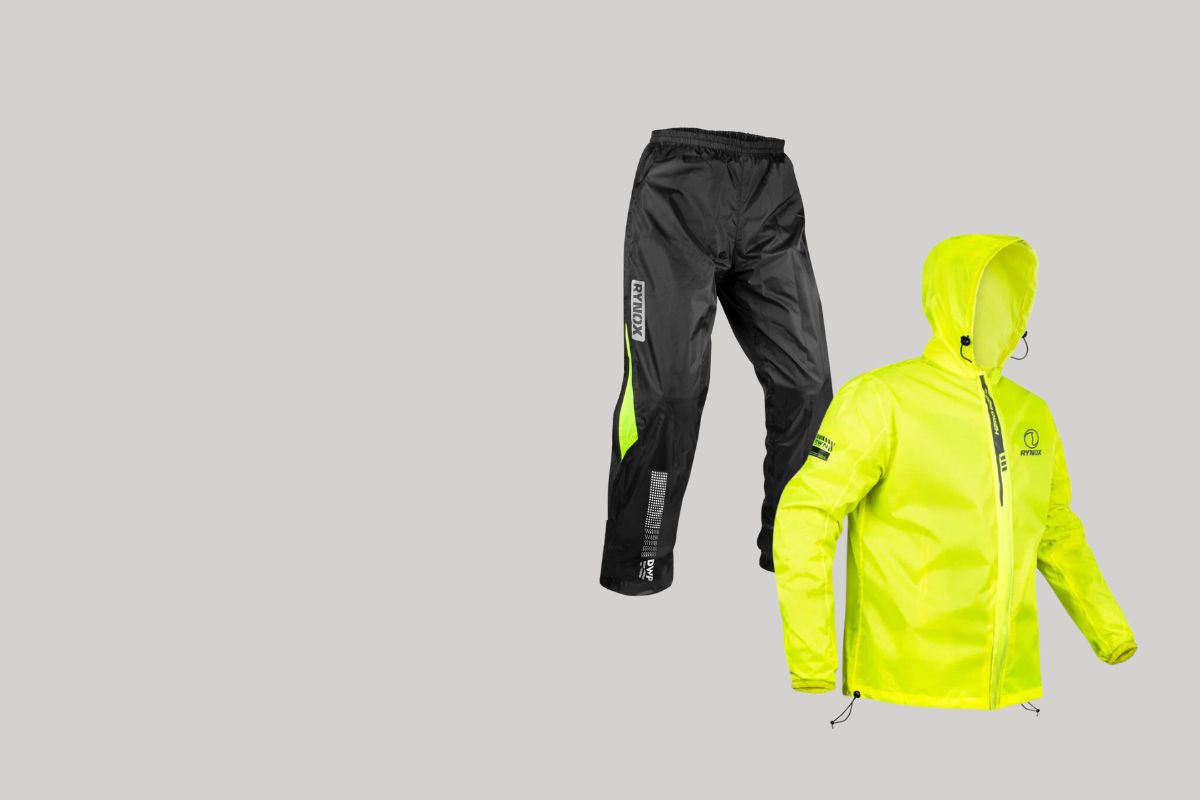
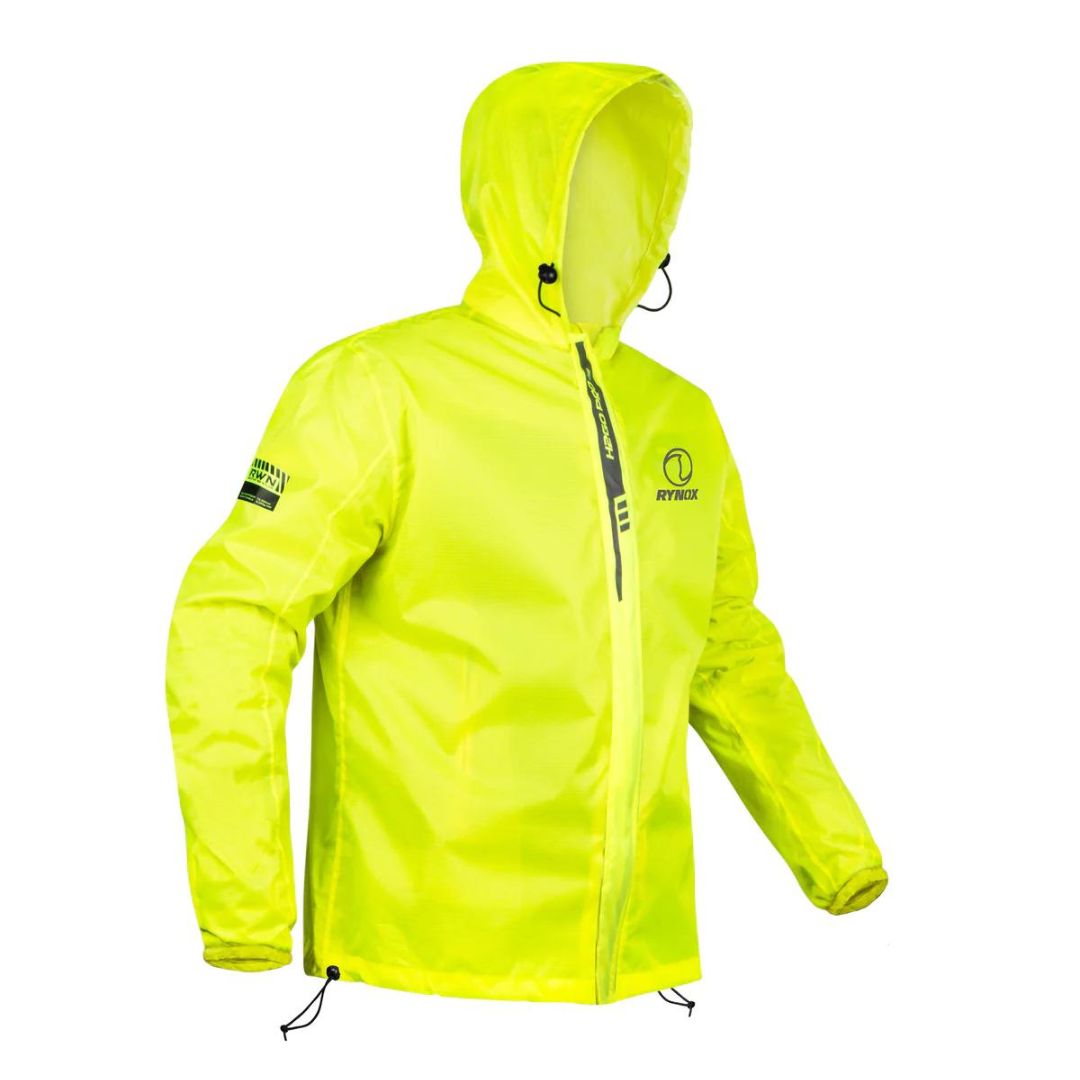
RAIN JACKET
Step 1 – Prep
- Undo all zippers and fasteners
- Shake off any surface dirt
- Wipe clean with a damp microfiber cloth
- Use a soft brush if required
Step 2 – Which Detergent?
- Use (in order of preference)
- Purpose-made tech-wash
- Neutral unscented liquid detergent
- Woolen liquid detergent
- Baby shampoo
- Completely Avoid
- Any type of granular powder detergent
- Any type of heavily scented liquid detergent
- Any type of fabric softener or bleach
Step 3 – Soak
- Dissolve 1 cap of detergent in a bucket of water
- Soak for at least 30 minutes
- Avoid hot water. Test with the back of your hand. If it’s too hot for your hand, it’s too hot for your rain jacket/pants
Step 4 – Wash and Rinse
- Agitate and scrub with your hands
- Focus on spots with grease and grime
- Repeat until clean
- Rinse multiple times until free of detergent
- Avoid using hard, abrasive brushes. Use a soft brush if required.
Step 5 – Dry and Store
- Hang dry in a cool ventilated shaded area
- Once dry, store in a cool, ventilated, moisture-free area, away from house-dust
- Do not wring. Do not tumble dry. Do not iron. Do not bleach. Do not expose to direct sunlight while drying.
WINTER JACKET
Step 1 – Prep
- Undo all zippers and fasteners
- Shake off any surface dirt
- Wipe clean with a damp microfiber cloth
- Use a soft brush if required
Step 2 – Which Detergent?
- Use (in order of preference)
- Purpose-made tech-wash
- Neutral unscented liquid detergent
- Woolen liquid detergent
- Baby shampoo
- Completely Avoid
- Any type of granular powder detergent
- Any type of heavily scented liquid detergent
- Any type of fabric softener or bleach
Step 3 – Soak
- Dissolve 1 cap of detergent in bucket of water
- Soak for at least 30 minutes
- Avoid hot water.Test with the back of your hand. If it’s too hot for your hand, it’s too hot for your winter jacket
Step 4 – Wash and Rinse
- Agitate and scrub with your hands
- Focus on spots with grease and grime
- Repeat until clean
- Rinse multiple times until free of detergent
- Avoid using hard, abrasive brushes. Use a soft brush if required.
Step 5 – Let Dry and Store
- Hang dry in a cool ventilated shaded area
- Once dry, re-fluff the fill if required
- Store in a cool, ventilated moisture-free place, away from house dust
- Do not wring. Do not tumble dry. Do not iron. Do not bleach. Do not expose to direct sunlight while drying.
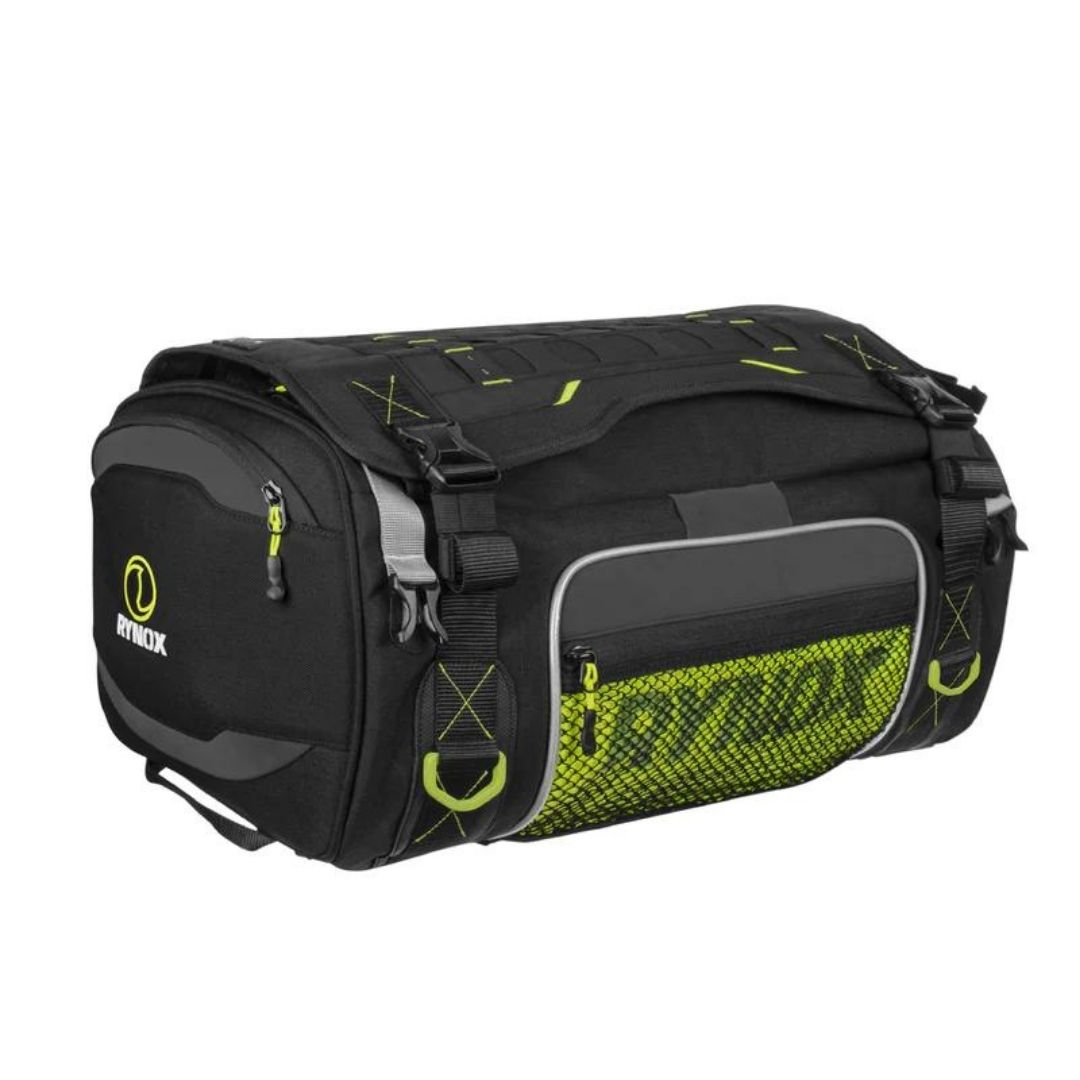
LUGGAGE
Step 1 – Prep
-
Undo all zippers, velcro, straps and buckles
-
Separate all detachable layers and/or drybag liners (wash each layer separately)
-
Shake off any surface dirt
-
Use a soft brush if required
-
Wipe clean with a damp microfiber cloth
Step 2 – Which Detergent?
-
Use (in order of preference)
-
Purpose-made tech-wash
-
Neutral unscented liquid detergent
-
Woolen liquid detergent
-
Baby shampoo
-
-
Completely Avoid
-
Any type of granular powder detergent
-
Any type of heavily scented liquid detergent
-
Any type of fabric softener or bleach
-
Step 3 – Soak
-
Dissolve 1 to 2 caps of detergent in a bucket of water, per unit of luggage
-
Soak for at least 30 minutes
-
Avoid hot water. Test with the back of your hand. If it’s too hot for your hand, it’s too hot for your luggage.
Step 4- Wash and Rinse
-
Agitate and scrub within your hands, inside and outside.
-
Focus on spots with grease and grime
-
Repeat until clean
-
Rinse multiple times until free of detergent
-
Avoid using hard, abrasive brushes. Use a soft brush if required.
Step 5 – Drip Dry
-
Drip dry. Place upside-down to let water drip out.
-
Once dry on the outside, turn the bag inside out and let it dry
-
Do not machine dry. Do not use a hair dryer or any type of heater during the drying process.
-
Do not be exposed to direct sunlight.
Step 6 – Storage
-
Store in a cool dry ventilated place, away from direct sunlight.
-
Do not store while damp or wet. Dry completely before storage.
-
Clean thoroughly before long-term storage.